

Many people love the idea of creating fruit enzymes at home because it feels fresher, more natural, and surprisingly fun. Although the process seems complicated at first, it becomes quite simple once you understand the basics. In fact, with just a few common ingredients, you can prepare a flavourful fermented drink that supports digestion and adds a bright, fruity lift to your day.
To help you get started confidently, here is a clear, improved, and beginner-friendly recipe. You’ll also find helpful tips that prevent mould, encourage proper fermentation, and ensure your fruit enzymes turn out beautifully every time.
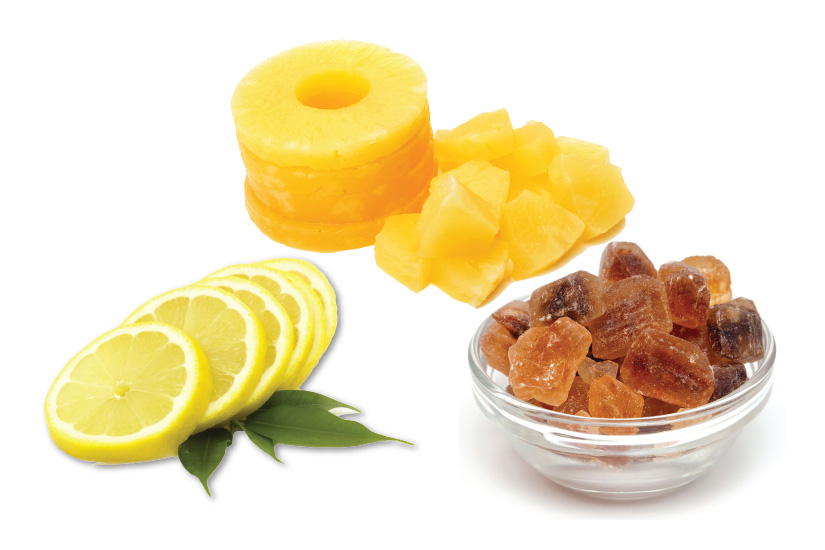
🍋 What You’ll Need
-
Pineapple (or any fruit you prefer)
-
Brown rock sugar
-
A clean, dry, airtight glass jar
Tip: A glass jar is ideal because it handles fermentation safely and keeps flavours pure.
🥄 Step-by-Step Guide
1. Prep the Lemons
Wash them thoroughly, pat them completely dry, and remove the peel if you prefer a smoother flavour. For a tangy, slightly bitter edge, simply leave the peel on. After that, slice the lemons and remove the seeds.
2. Prep the Pineapple
Rinse the fruit, dry it, and cut it into bite-sized cubes. Smaller pieces help release juice more quickly during fermentation.
3. Begin Layering the Jar
Start with a layer of pineapple at the bottom of your jar. This forms the base and provides plenty of natural sweetness.
4. Add a Layer of Lemon
Place a thin layer of lemon slices on top. The citrus balances the pineapple and enhances fermentation.
5. Add Rock Sugar
Drop in one large piece of rock sugar (or two small ones). Because sugar feeds fermentation, this step is essential.
6. Continue Layering
Repeat the pattern — pineapple, lemon, rock sugar — until the jar is filled. As you layer, make sure the fruit reaches the top to minimise oxygen pockets.
7. Seal and Label
Close the jar tightly and label the date. Additionally, write the date three weeks ahead so you know exactly when your fruit enzymes will be ready.
8. Store the Jar
Place the jar in a cool, dry spot away from sunlight. Fermentation works best under stable, moderate temperatures.
9. Tip the Jar Regularly
Every two to three days, gently tilt the jar so the juice coats all the fruit. This step helps prevent mould and ensures even fermentation.
10. Strain and Chill
After three weeks, open the jar and strain the liquid into a clean bottle. The final result tastes best when stored chilled in the refrigerator.
11. Drink in Moderation
Take about 30 ml a day, and dilute it slightly if you find it too sweet. Because fermentation naturally produces small amounts of alcohol, it’s wise not to drink too much at once.
🧼 Important Things to Note
-
Always keep your hands, jars, and fruits completely dry.
-
If mould appears, discard the batch immediately.
-
A sour, fruity smell is normal; however, strong unpleasant odours mean it should not be consumed.
-
Using glass instead of plastic improves safety and preserves flavour.
🌈 Fun Variations to Try
To personalise your fruit enzymes, experiment with different combinations:
-
Citrus Mix: Lemon, orange, and grapefruit
-
Berry Blend: Strawberries, blueberries, raspberries
-
Tropical Burst: Pineapple, mango, and passionfruit
-
Apple Spice: Apples with a cinnamon stick
You may also add a few slices of ginger or mint leaves for extra aroma. After fermentation, feel free to mix a splash of the drink into sparkling water or drizzle it over yogurt for a refreshing twist.
⭐ Conclusion
Making fruit enzymes at home is rewarding, enjoyable, and surprisingly straightforward. With proper preparation and a little patience, you’ll create a delicious fermented drink that supports digestion and adds a bright burst of flavour to your day. Once you’ve mastered the basics, feel free to explore new fruits, fun combinations, and creative ways to enjoy each bottle. PRIME
Author

You Might Also Like:
 The Power of Enzymes: What They Do — and What Fruit “Enzymes” Really Provide (Part 1)
 Spices and Health: What Works and What’s Just Tradition
 Longevity Matters: Habits for a Longer, Healthier Life
 5 Common Addictions and Their Health Impact
 Breaking Free from Addiction: How to Quit for Good and Take Back Control